Showing posts with label free pattern download. Show all posts

Tuesday, March 13, 2012

easy paper basket tutorial


Ever need a last minute gift? Seriously. Who doesn't?  


I wish I was better about thinking ahead, but alas, I have very few brain cells functioning at this juncture.  

However,  I've got it covered with this little DIY.  This may be the easiest paper craft I've done all year.

It's just cut, sew and glue. Tada! Your done!

Here's what you need:
-Enough paper to cut six sides and one bottom from the pattern. Use at least 80lb paper for this project so it is sturdy. Most craft paper that is printed on both sides is heavy enough.
-scissors
-sewing machine
-hot glue gun
-items to decorate your basket (optional)

Using the pattern, cut out six sides and one bottom.  You can enlarge or reduce the pattern to your liking. If you print it out full sized you will have roughly a 6" and 4 1/2" basket.


Start with two sides, line them up and sew them together with an eighth inch seam. Pay attention to what patterns you want on the outside of your basket. Wrong sides go together when you are sewing.  Keep adding sides until you have them all sewn together, then sew the first and last sides together so you have a circle.  Fit your bottom piece down into the basket. It may not go all the way to the bottom. That's okay. You can trim it to fit exactly where you want. Using your hot glue gun, run glue around the edges of the bottom to adhere it to the side of the basket. It may be too tight to get your gun down into the basket. Just drop the glue down in and use a dowel or something to get it where you want it. It doesn't matter if it looks good because it will be covered.


That's it. Your done! Embellish it if you wish. You could add a ribbon handle or other doodads. I think it would be cute to use scallop scissors to cut the top edges. I used Easter grass, but you could also use tissue paper to line your basket.

Then to the goodies! Oh my. The possibilities are endless. Something sweet!


And in case you are wondering...

The tall pink basket was made from The Girl's Paperie paper by Margie Romney-Aslett and my digital photo elemets come via Rhonna Designs

Want more fun DIY ideas? Check out:

click on image


Friday, May 27, 2011

amelie's pinafore pattern


Let the record show that there is no way on God's green Earth that I wasn't going to have a daughter in this life.  And this is why.


Girl stuff. Clothing. Jewelry. Pedicures. Lip Gloss.


Let the record also show that this project is one of the easiest sewing projects you will ever do. The button holes are hardest part. I kid you not.


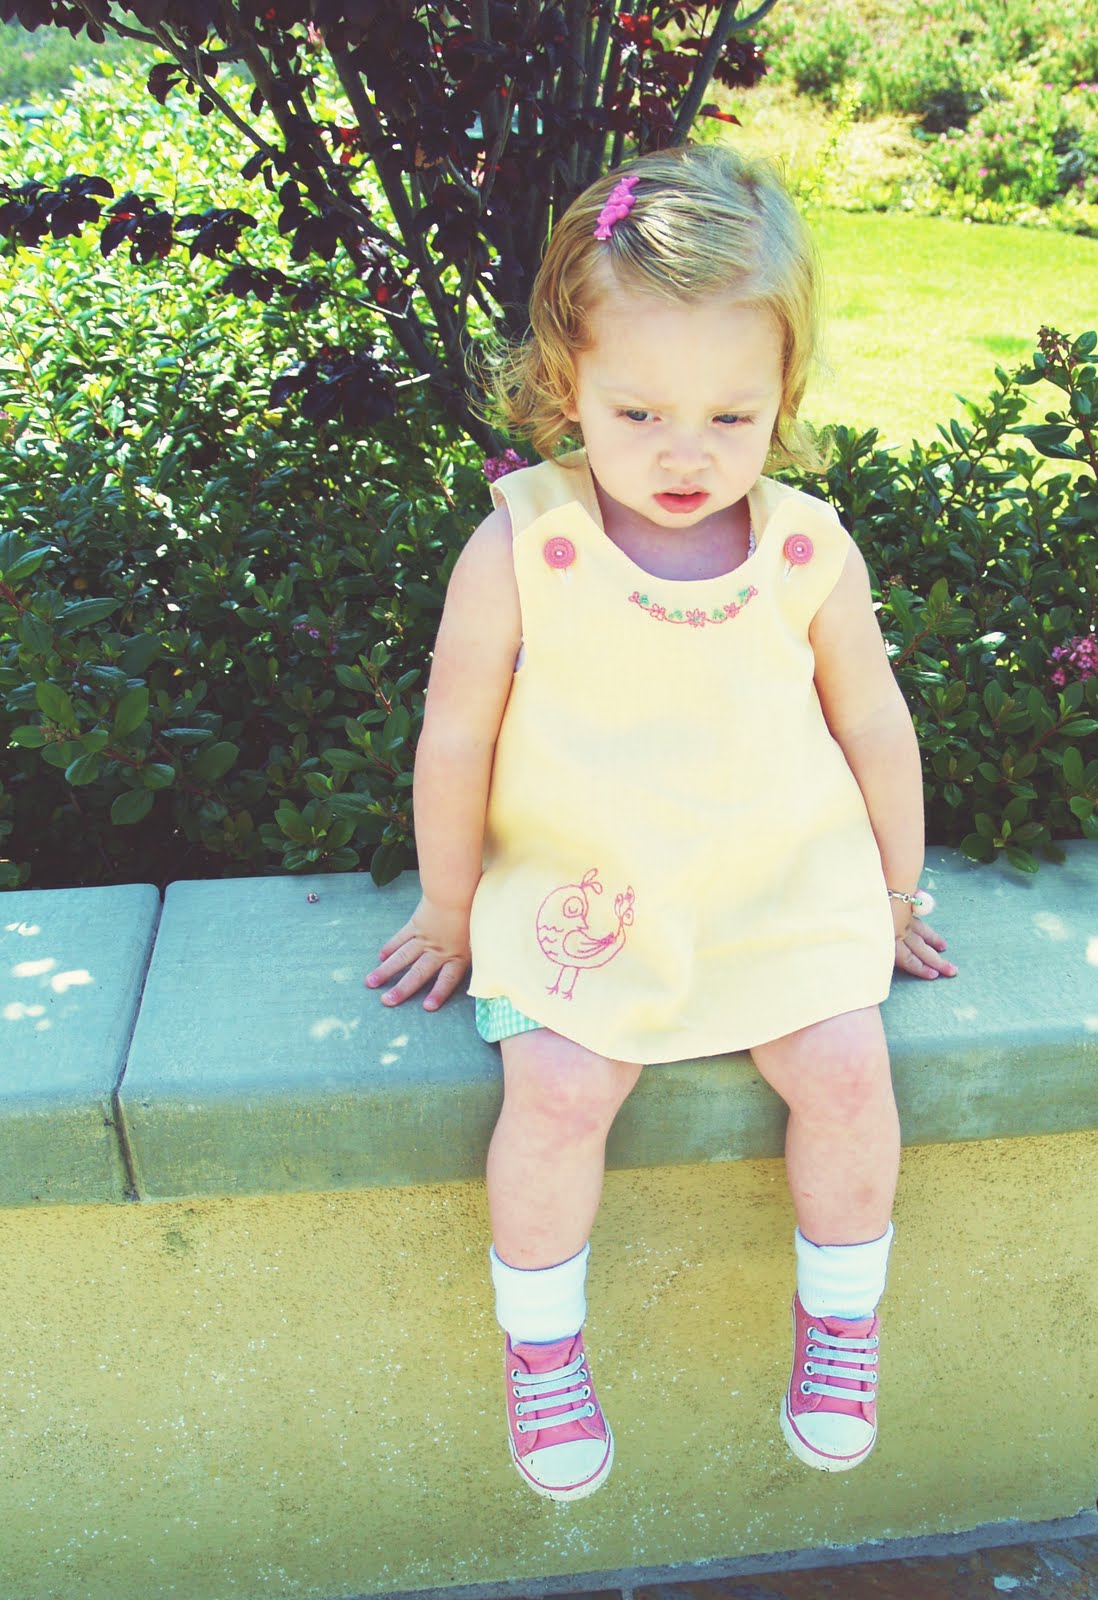
For this pinafore I used some butter yellow European linen and repurposed shower curtain fabric that I scored a little while back. I am madly in love with linen. It's luscious. Watch this. You might love it too.

You can whip up this pinafore in twenty minutes flat if you skip the embroidery.  Embroidery takes a little time. But it also makes it extra special.

I plan on making The Bird a slew of these babies. The next one will have rick rack around the edge. I'm planning tuxedo ruffles down the front for another one.  If you keep it simple, you can easily make it reversible by adding two flat buttons on each side of the fabric.

You can also sew the buttons on the front panel so the flaps are on top. That looks equally as nice. The pattern fits Amelie at two years as a tunic with room to grow.  I'm thinking it will fit for another year or so.

The possibilities are limitless with this pattern.  The only thing it can't do is your laundry. Sorry.


For free. Cuz that's how I roll. (Mostly)

The file includes my hand drawn embroidery designs that I used. You can also find tons of free and very cute embroidery patterns online.