Showing posts with label handmade gifts. Show all posts

Wednesday, December 07, 2011

jingle balm- DIY


Here's a fun little idea for handmade gifts for friends. I originally thought this idea would be great for my friend's daughter to make. Kate is eleven and perfectly capable of doing the entire project by herself.  

But then I had so much fun making it myself, I thought if I had co-workers, I'd make these for them. I'm going to give them to girl friends as a party favor at a Christmas brunch.


Supplies needed:

Natural lip balm base
Flavouring (optional)
Glass container to melt base in
Tins or tubes
Colorant (optional)


There are plenty of recipes online for homemade lip balm. Its a fairly easy recipe. You will just need to find a few special ingredients.

But to make it even easier, you can buy premade lip balm base and add your own flavor and color.  Once your supplies arrive, it's just a matter of melting the balm base in the microwave and then adding flavor and color.  You can mix flavors to make gourmet balms. The sky is the limit. I ordered creme de menthe flavor because I thought that would be Christmasy.

Plastic lip balm tubes are super cheap. I opted for tins because I think they are cute.  Each tin was .50 but if you are making a lot of lip balm, you could buy them bulk and get them for much less.

I didn't spend a lot of time creating a great lable for the tins because I knew I wanted to put them in little felt pockets. But if you have some graphic design skills, you could make some really great lables. I printed my labels on water proof paper so they don't wear off as fast.

I told Birdie to pucker up to model our lip balm. This is what I got...


 Once you are balmed, it's time to find some miseltoe. You are ready to kiss someone.  Unless you are a little brother.


Merry balm making!

Wednesday, August 18, 2010

hoopla

click here for credits

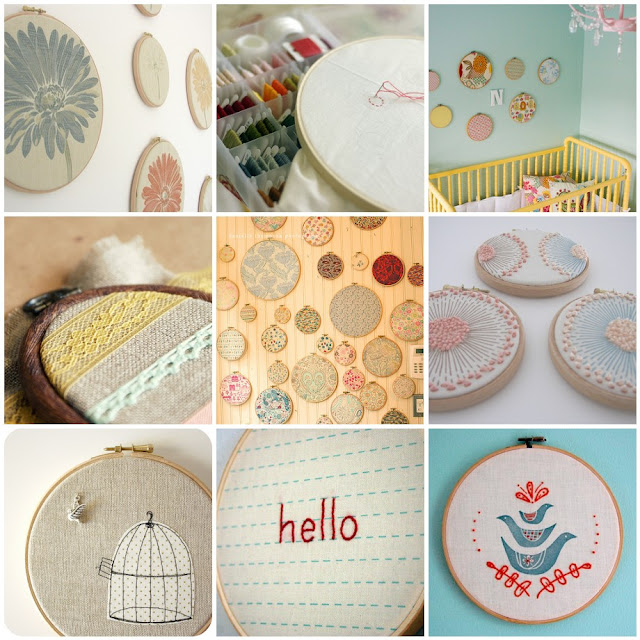
I'm seriously loving the idea of embroidery hoops as wall decor. The possibilities are endless. And you don't even have to actually embroider to make them beautiful. If you have only a scrap of your most favorite vintage fabric that you know you will never ever find again because it's like, fifty years old, and soooo special, I say hoop it and hang it on the wall.

Having said that, I must add that anything hand embroidered is special and unique and just why on Earth would anyone want to pass on embroidery anyway?

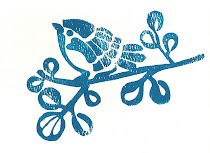
Here's my latest project.  I hand carved the stamp and used it on ivory cotton as a pattern.


There is something about embroidery. I just can't put my finger on it. It's like down home and comforting to me.  I can't wait till the Bird is old enough to wield a needle.

Thursday, April 29, 2010

rick rack mother's day pin

Rick Rack!


Okay girls, here's a little somethin', somethin' for you crafty folk.


A little idea. A simple craft that you can do in just small amount of time, maybe with the kids, or maybe not. May I suggest you take a little quiet time to sit and make something from your heart for your mom?


Supply list:

* One yard of rick rack any size depending on your preference. I like large cotton rick rack found in quilting stores.
* Small piece of leather or felt
* One pinback finding available at most craft stores
* Needle and thread
* Ribbon
* Glue gun
* Various embellishments


Step One:

Fold your rick rack ribbon back and forth so that the edges line up. Periodically run your needle through the bottom edge of one side. Keep folding until you feel like your "flower" will be as full as you like it.


Step Two:

Bring ends of the thread together and tie off so that it forms a circle. Using the glue gun, glue the ends of the rick rack together where they meet making sure to glue on the knot so that it stays secure.


Step Three:

This is the fun part! Using your embellishments, start to design and create your pin to personalize it for it's intended recipient. I used little cut fabric flowers and a fabric covered brad in the center of this pin. I used tulle, buttons and beds in the purple one. I ruffled the tulle and the little fabric flowers and glued them to the center. The buttons and brads were also secured with hot glue. I put the ribbon in front on one and in the back on the other. I think it looks nice either way.

Step Four:

Cut your leather or felt in a circle so that it fits the back side of your pin. Cut slits so that the pin and locking component can fit through. Glue the circle onto the back of the rick rack with hot glue.


Step Five:

Ruffle and package! Fluff out the petals so that the flower looks nice and full. Remember that presentation is everything and make sure to package your little offering in an extra special way. I'm going to go to the florist and ask for some clear corsage containers. I'll add a little Easter grass and a beautiful bow and there you have it!

Mother's Day flowers that won't die!


Yellow Ric Rack Pin

Please send me photos of your completed pins if you decide to make some!

Questions? Email me!

Bloggers feel free to repost this project. All I ask is that you credit the original source and send me a link to your blog. Happy trails!

Saturday, December 19, 2009

christmas cones

Here's a festive and cheap idea for last minute Christmas gifts. I'm making them for my neighbors and friends.

Christmas Cones!

Supplies needed:
craft paper (or if you are really on a budget newspaper or old book pages)
pom poms
ribbon ( I used my sewing machine to ruffle crape streamers)
embellishments you like
glue gun


Scroll your craft paper into a cone. You can play around with different sizes. Hot glue the edges down. Using decorative scissors, cut around the top edge. Hot glue a pom pom onto the bottom. Use the ribbon to decorate the cone however you like. Punch holes in either side of the cone about a half inch from the top. Thread ribbon through the holes and knot it on the inside. Hot glue a strip of tissue paper to the inside edge of the cone. Make sure you leave enough paper on top to tie with a ribbon.

Fill your cone with goodies. I bought pistachios and chocolate covered cherries for mine.


There you have it. A seriously cute and cheap gift to give that special someone. Or that someone who you really don't like but feel obligated to give them a gift.

You know who I'm talking about.


Tis the season it be generous to everyone. Even Debbie, up the street.

Tuesday, July 29, 2008

hello sam i am

Let me first just say that I realized I have become a true Californian when this morning's earthquake (5.8) caused me no concern, just irritation for making me smudge my mascara.


I have a wonderful friend that just had her second son on Friday. They named him Sam. Good name don't you think? It's a strong name. It says, "I'm capable." Anywho- I crocheted around the edge of two pieces of flannel and embroidered a matching onesie. Because losing the lime light so startling quick can be rather tumultuous for older siblings, we thought we would ease the way with a stuffed sock monkey for older brother Jack. I think he liked it. I have a thing for classic toys. They seem somehow, better, more reliable than the toys kids have now.

If you want to enter the Top Rockstar drawing (see previous post), but don't have a blog or web page, you can also add a link to your My Space page or any other networking site page. Just leave the link in the comments.